Precision Metal Repair for the Watch, Eyewear and Dental Lab Bench
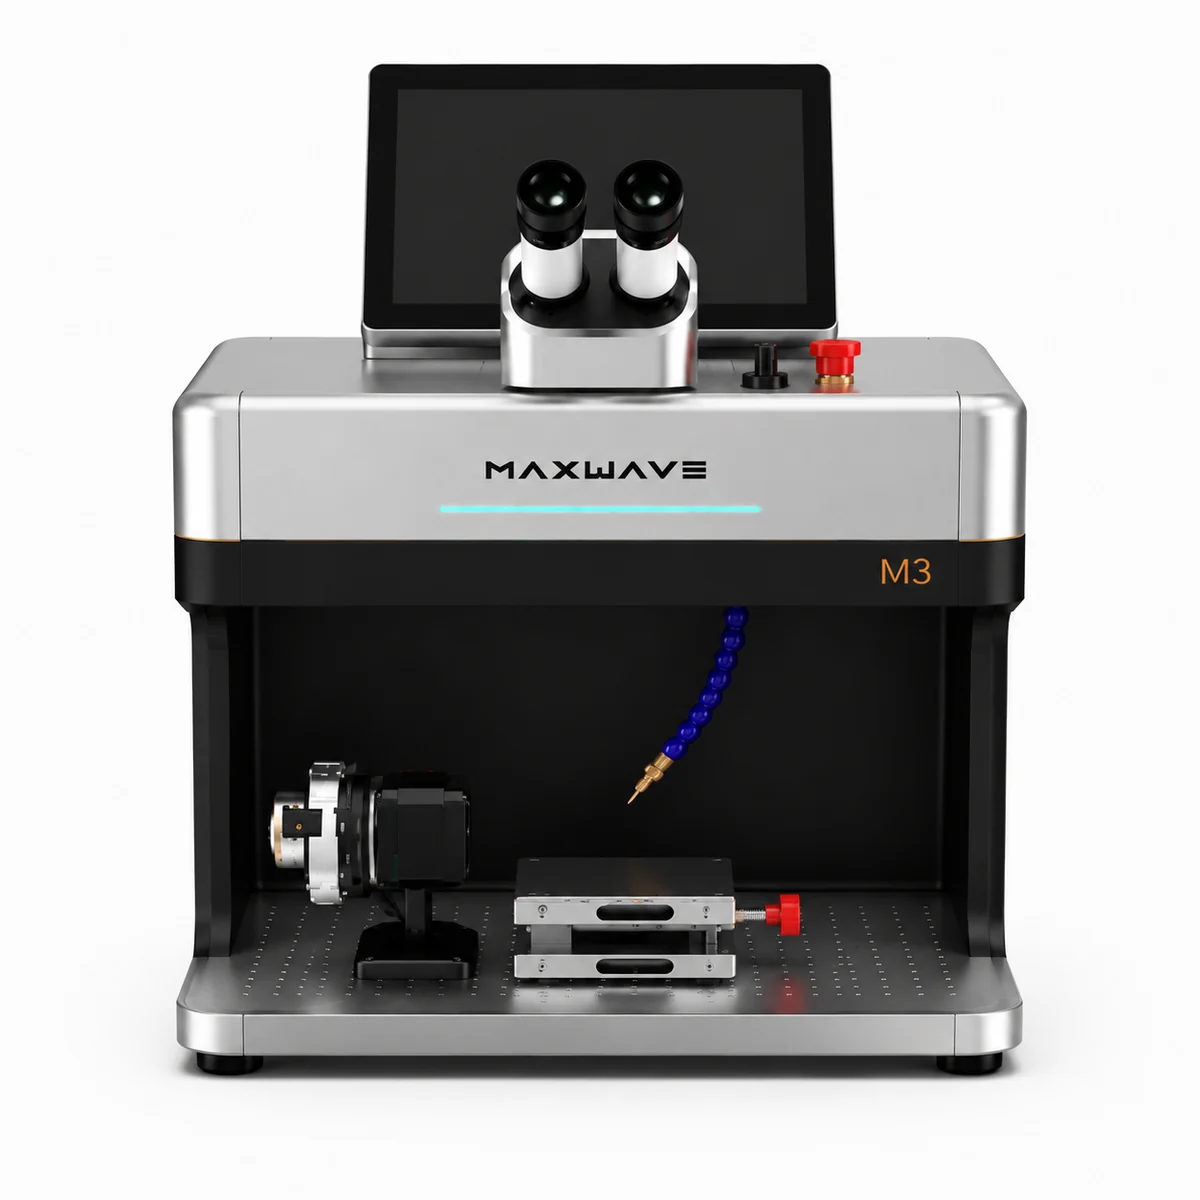
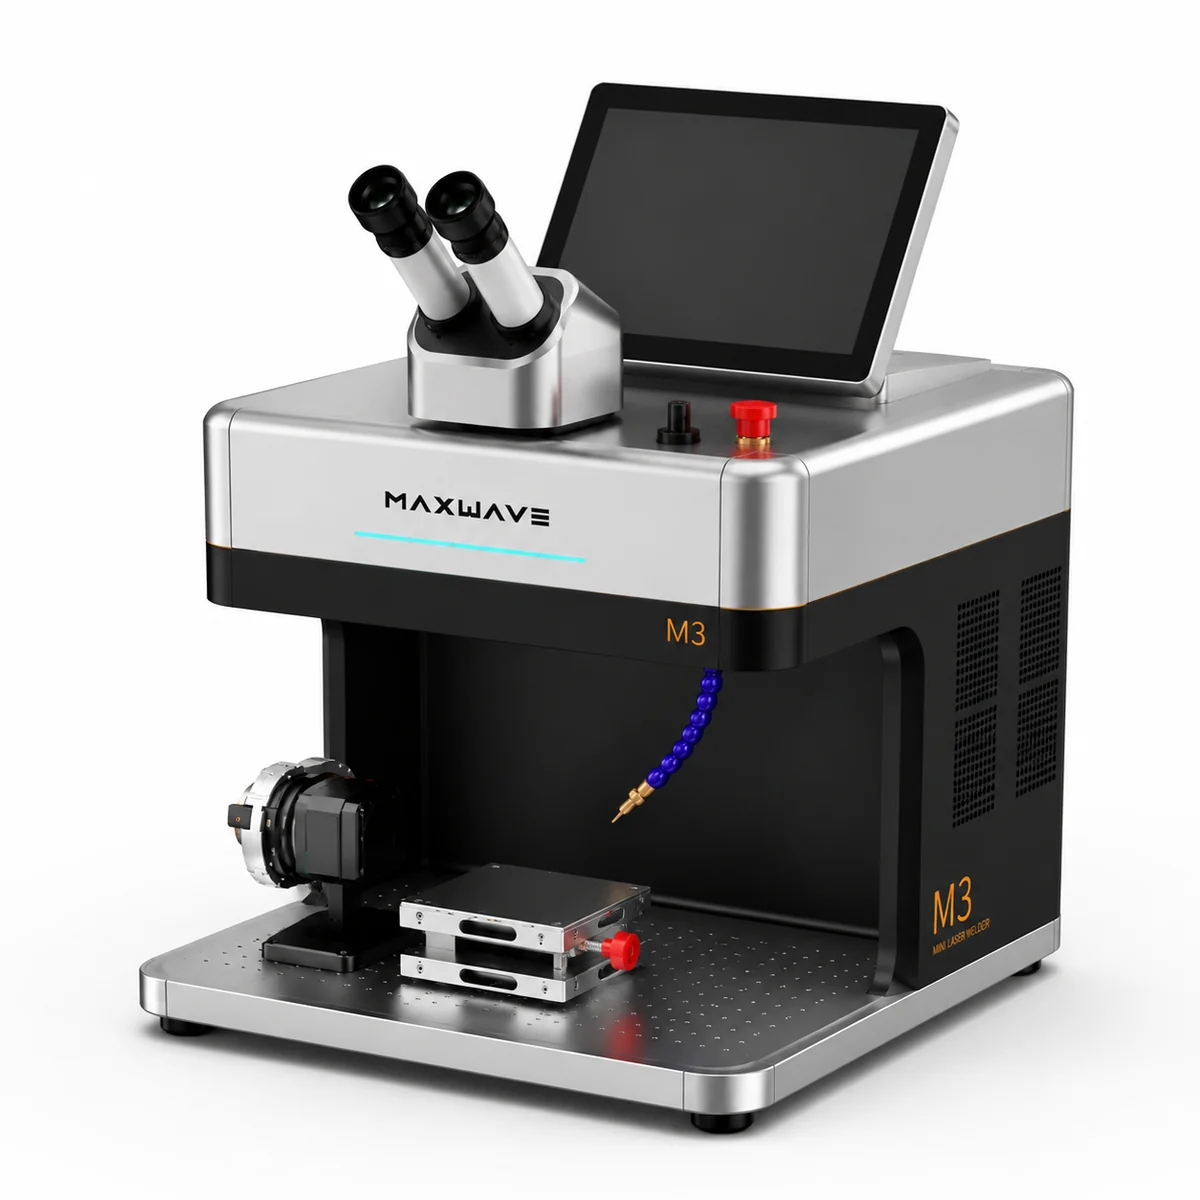
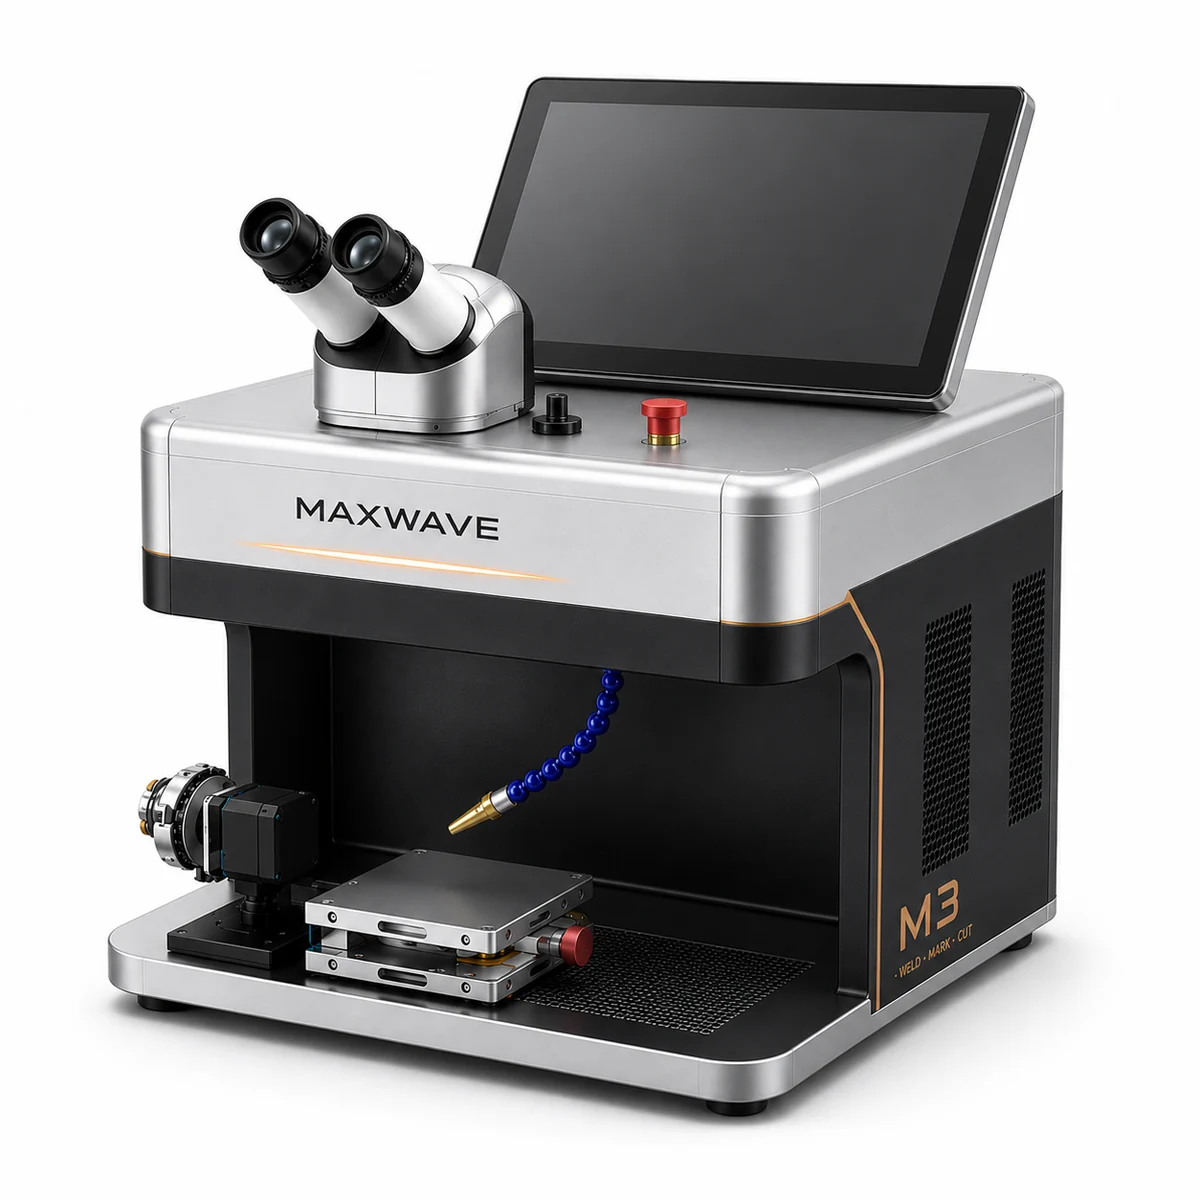
Small parts, somebody else’s property, no spare behind them. The M3 is a desktop laser workstation built for precision metal repair of that kind: a QCW fiber welding source from 120 W to 1200 W, a spot set by motor from 0.1 to 2.0 mm, pulse width from 0.2 to 15 ms, and a foot pedal firing so both hands stay on the part.
Every weld is placed under magnification. A 10X binocular microscope and a 20X lens at the eyepiece; the same joint on a 10 inch screen through a Sony 8 megapixel camera.
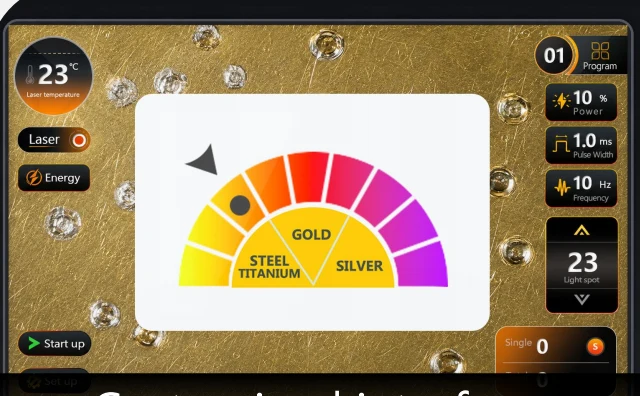
STEEL · TITANIUM on the dial
0.1–2.0 mm spot, motor set
10X microscope + 20X lens
30 kg · air cooled, no chiller
Offcut back with settings
Four benches, one question
Parts on a Precision Metal Repair Bench
Four kinds of bench ask for the same thing: a weld beside a finished face, on a part with no replacement. Each bench named by what actually sits on it.
Pending photo · watch bench tray
Watch bench
Steel · titanium · gold filled
Bracelet links and the pins that hold them
Folded clasp blades and their fold edges
Deployant tabs and end links
Lugs and spring bar holes opened by wear
The joint sits beside a brushed or polished face the owner will hold up to the light.
Pending photo · frame on the worktop
Eyewear workshop
Steel · titanium · coated
Hinge barrels lifted off a front
Temples parted at the hinge
Bridges on rimless mounts, end pieces
Nose pad arms and torn screw barrels
The frame goes back straight, and it goes back the same colour.
Pending photo · framework on the model
Dental laboratory
Technician’s metalwork only
Cast framework clasps
Connectors and bar work
Wire work
Repairs back from a practice
The fit verified on the model is still the fit when the technician seats it again.
Pending photo · small parts from next door
The next room
Whatever needs magnification
Instrument and sensor bodies
Contacts and terminals
Small springs and clips
One-off parts somebody turned, then broke
They come over because yours is the room with a lens and a laser on it.
Every one of those parts is judged on its own before anything fires, held by hand, and worked under magnification. That is the shape of bench the M3 is built around.
Schematic · the dial, right half litThe welding interface as photographed: four material positions.
The material dial
Steel and Titanium: The Dial’s Other Half
On a goldsmith’s bench GOLD and SILVER get pressed all day. On a watch, eyewear or laboratory bench it is the other two.
4
material positions two of them yours by default
Steel
Bracelets, fronts, wire and framework
The metal of watch bracelets, cases, clasp blades and spring bars, of the families most eyewear fronts are built from, and of the wire and framework work crossing a laboratory bench.
Titanium
Cases, temples, frameworks
The other everyday position. Every titanium part starts from TITANIUM, and the first shot is trimmed against what the microscope shows. Like steel, it keeps heat close to where the shot lands, which is what a joint beside a finished surface needs.
Gold · Silver
The occasional position
Gold filled and plated cases, solid gold frame parts, precious alloy framework work, and the gold findings that arrive attached to something else.
Steel
Titanium
Gold
Silver
Platinum
Copper
Aluminium
Seven weldable metals, four dial positions. Platinum, copper and aluminium run from the nearest position and are trimmed on the first shot: an operating routine, not a preset.
A material position puts the machine within reach of the metal family in front of it. It does not know the individual part; the first shot settles that. The two step routine behind every preset is laid out on the precious metals page and runs the same way from STEEL and TITANIUM.
Every job on this machine starts with one shot below where the settings are expected to finish, placed somewhere that will never be seen. These benches do not have that somewhere.
On a ring
Schematic · inside the shank
Inside the shank
A ring has a face nobody looks at. The first shot lands there, gets read, and the visible joint is welded on settings already proven on the piece itself.
On a link, a barrel, a clasp arm
Schematic · every face is finished
No such place exists
Every face of the part is a finished face, and the part belongs to a customer. There is nowhere on it to spend a shot that might be wrong.
The trial shot does not go on the piece. It goes on an offcut of the same alloy, in the same holding.
Offcuts already in the shop
A link taken out when a bracelet was sized
The broken-off half of a temple being replaced
A sprue or an edge from the same framework cast
A length of the same wire off the same spool
A scrapped part of the same type
Pending photo · offcut beside the part
Same alloy, roughly the same section. Those two things decide how much of the shot goes into the joint and how fast the heat leaves it. A spare link out of the same bracelet answers for that bracelet. A sprue from the same cast answers for that framework.
One shot, read, trimmed
One shot goes into the offcut
It is read under the microscope; spot and pulse width are trimmed from there
When the offcut reads right, the part goes in on the same settings
How a trial shot is read, and which correction each reading calls for, is set out on the repair page and does not change here.
The same routine on our bench
That is also why the sample asked for on this page is an offcut rather than a customer’s watch. What happens at your bench before a part is touched is what happens at ours before an answer goes out.
Frame work is the closest match on this page to what the machine was built around: small parts, short joints, thin metal around them.
Hinge barrelRimless bridge
What arrives
A hinge barrel: a short tube against a front
A rimless bridge joint carrying the whole mount
A nose pad arm: soft wire at a lug
End pieces and temples parted at the hinge
Screw barrels torn out of their seat
Nearly all under a coloured coating, a plating or a lacquer
Pending photo · hinge barrel under the lensPending photo · coating beside the joint
The sequence, the same way every time
Strip what comes off by hand
Lenses, pads and sleeves leave the frame before anything else happens.
Hold the joint closed
The two faces of the joint are closed and stay closed, without jaws marking the coating.
Offcut beside it
A piece of the same alloy goes into the same holding, next to the frame.
Press STEEL or TITANIUM
The position for the metal family in hand. The offcut settles the rest.
Spot narrow, pulse short
The motor closes the spot toward the narrow end of 0.1 to 2.0 mm; pulse width sits short within 0.2 to 15 ms. A melt point wider than the joint puts energy into metal that was never meant to be touched.
Overlapping shots, low frequency
One shot into the offcut, read through the 20X lens, adjusted, fired again until it reads right. Then the frame: a series of overlapping shots at a low rate within 1 to 20 Hz, so the heat is spread out in time.
The pedal fires and both hands never leave the frame, which is what keeps a sprung temple from moving between shots.
Check 1 · yours
Did the coating come through
Judged against the other side of the same frame. If it did not, the correction goes back onto the offcut, not onto the frame.
Check 2 · yours
Is the frame still in alignment
Judged on your own alignment tools. A frame that welds well and goes back crooked is still a return.
The joint and the finished face share the same sliver of metal, and no replacement link is coming from anywhere.
LinkPin
A short list, repeated
Links cracked at the pin hole or at the fold
Pin holes worn oval: metal goes back in before the watchmaker reams and re-pins
Clasp blades parted at the fold edge
Deployant tabs and springs that lost their anchor
End links and lug attachments, in steel, titanium, gold filled and plated
Pending photo · link under the lens
Held square, face away
The part is held so the joint sits square under the lens and the finished face sits away from where the melt point will be. The spot comes down toward the fine end of its range, so the melt point is smaller than the distance to the nearest surface that matters. Pulse width stays short.
The offcut is a link
Normally one out of the same bracelet, or a scrapped link of the same type. It takes the trial shot. The pedal fires while both hands hold and turn the part, which matters on a link that cannot be clamped without leaving a mark on it.
Fill slow; finishing is watchmaking
A series of small overlapping points rather than one deep pool, inspected on the screen between them. Whatever goes down as added metal is yours to take back off: by file, by stone, by reaming, by refinishing the grain. That stays on your side of the bench.
No maximum weldable section, minimum part size or thickness figure is published for any watch alloy. Send an offcut and the answer comes back in your own metal.
What a technician brings to this machine is metalwork on a laboratory bench, with the fit already established on a model.
Clasp armConnector
Cast framework clasps that have parted
Connectors
Bar work and wire work
Repairs coming back from a practice
The machine side is short to describe. The QCW source welds titanium and steel from their own dial positions, the spot comes down to 0.1 mm by motor, pulse width runs from 0.2 to 15 ms, the pedal fires, and every shot is placed under the microscope with the same view on the screen.
Pending photo · clasp repair on the model
Two limits, written down rather than assumed
Limit 1 · alloys
Cobalt chromium is not on the published list
The weldable materials list reads gold, silver, platinum, titanium, copper, aluminium and steel. The dial carries GOLD, STEEL, TITANIUM and SILVER. No alloy family gets added to that list on a web page.
Alloys outside it, cobalt chromium among them, get one answer
Send an offcut of the alloy you cast in
It goes under an M3 here and is posted back, whatever the result
Limit 2 · claims
No regulatory, clinical or biocompatibility claim
MAXWAVE manufactures a welding machine. It puts a weld in metal that you are holding, on your own bench, under your own procedures.
Approvals, documentation and professional judgement stay yours
Nothing on this page substitutes for any of them
Pending photo · sprue from the same cast
The trial shot goes on a sprue or an edge from the same cast, never on the framework. Same alloy, same melt, same day.
Material position: the same seven metals, steel and titanium most often
Trial shot on an offcut
One weld at a time, part in your hands, pedal under your foot
No boundary gets drawn around this list, because no honest one exists in what is published. A specific part gets a specific weld. Send one, or an offcut of the same material at the same section.
The operator’s side: binocular eyepieces above the work position, screen folded up behind.
Holding
Precision Metal Repair Held by Hand
Almost nothing on these benches can be clamped. Jaws firm enough to hold a link, a frame or a framework would also mark it.
The part stays in your hands
A bracelet link: two finished faces, no third to grip
A frame springs back against anything holding it
A framework keeps the geometry it was cast to
Firing is on a foot pedal, and that is what frees both hands in the first place.
The part comes to the focus
The 10X binocular microscope and the 20X lens sit at a fixed working distance. Once the joint is in focus, the part is turned there between shots rather than found again each time.
The screen is the second pair of eyes. The Sony 8 megapixel full colour camera puts the same view on the 10 inch screen:
A second person watches the joint
An apprentice learns the hand position
The joint is photographed before and after for the repair record
Passive holding only
Soft supports
Heat sinking against whatever must not get warm
The offcut in the same position, as a reference
Everything that decides where the weld lands happens before the pedal goes down.
The second source in the cabinet does identification work here, not decoration: service marks and serial numbers on case backs, component identification, reference marks for repair records, tags, plates and small blanks.
Pending photo · service mark on a case back
Field, accuracy, speed
Marks across a 70 × 70 mm field at 0.01 mm accuracy, with galvo speed up to 7000 mm/s.
Colour on two metals
Stainless steel and brass take colour under this source. Anodized aluminium marks black: a different result, quoted as a different job.
Two heads, one cabinet
A part welded on the QCW side and then marked is re-set on the marking side, located by red light walking the outline on the part itself.
Watch roomThe bench already carries a lathe, a staking set and a movement holder.
Dispensing practiceThe back room is a worktop between stock and a frame heater.
LaboratoryThe bench is committed to models, an investment area and a polishing station.
30kg
Takes a corner of a worktop and is lifted by one person, so it can be put away or moved between rooms. Air cooled: no chiller on the floor beside it, no water to top up, no water circuit to service.
340 mm deep · 300 mm wide
Cabinet
300 × 340 × 320 mm
Weight
30 kg
Cooling
Air, no chiller
Supply
AC 220 V / 50 Hz / 2 A
Total power
2 kW, single phase
Room conditions
0–40 °C · ≤80% RH
Screen
10 inch 1280P Android
Computer needed
None
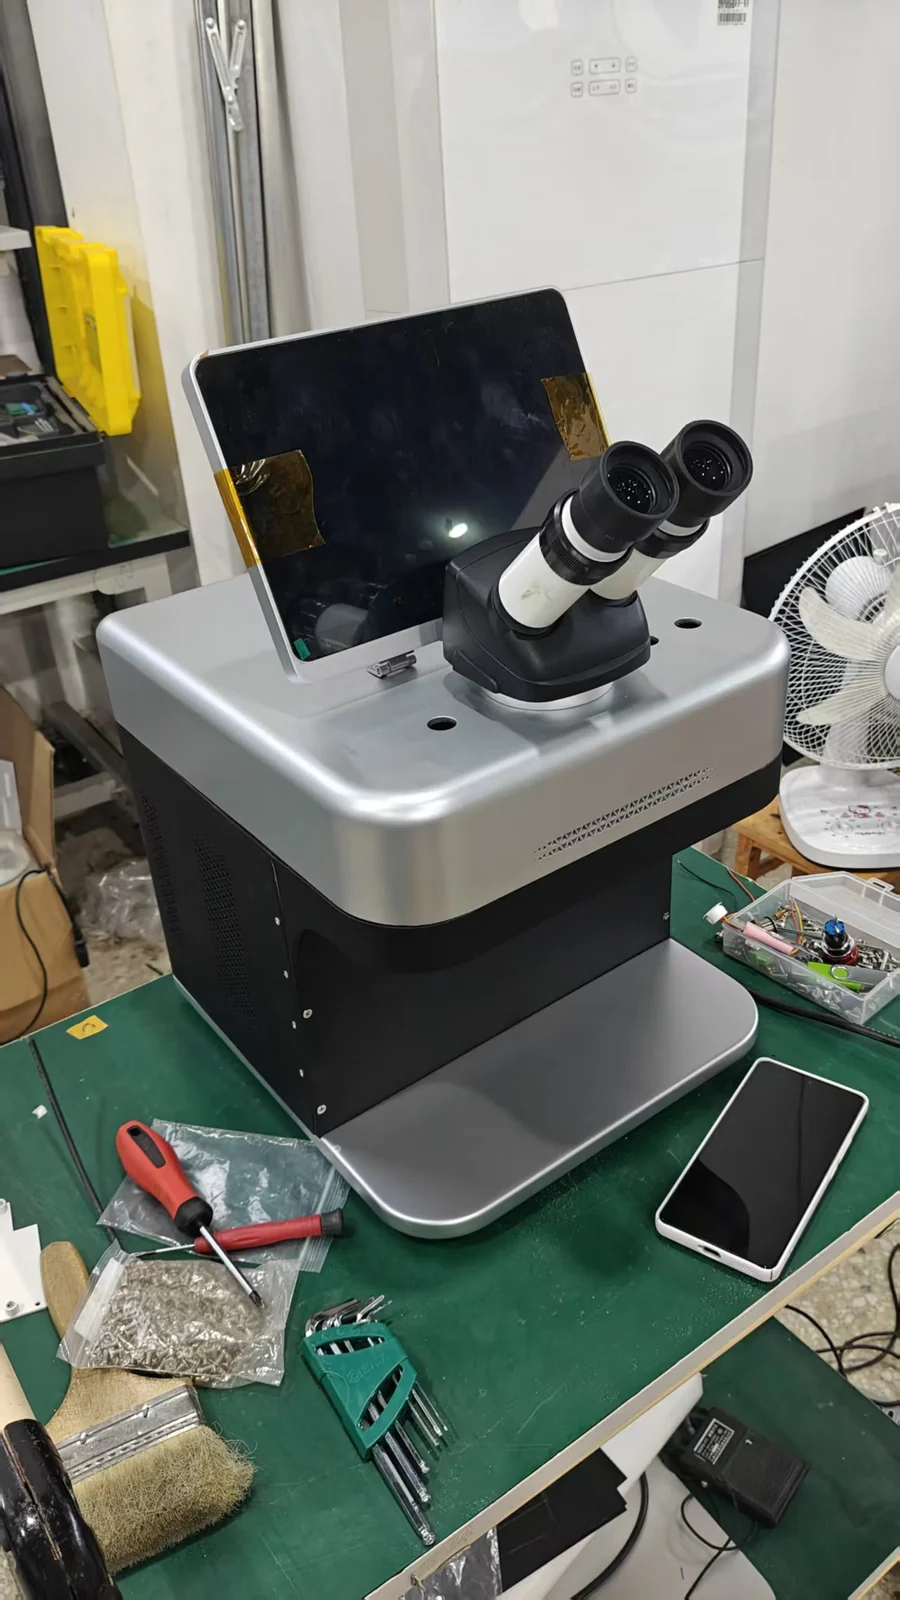
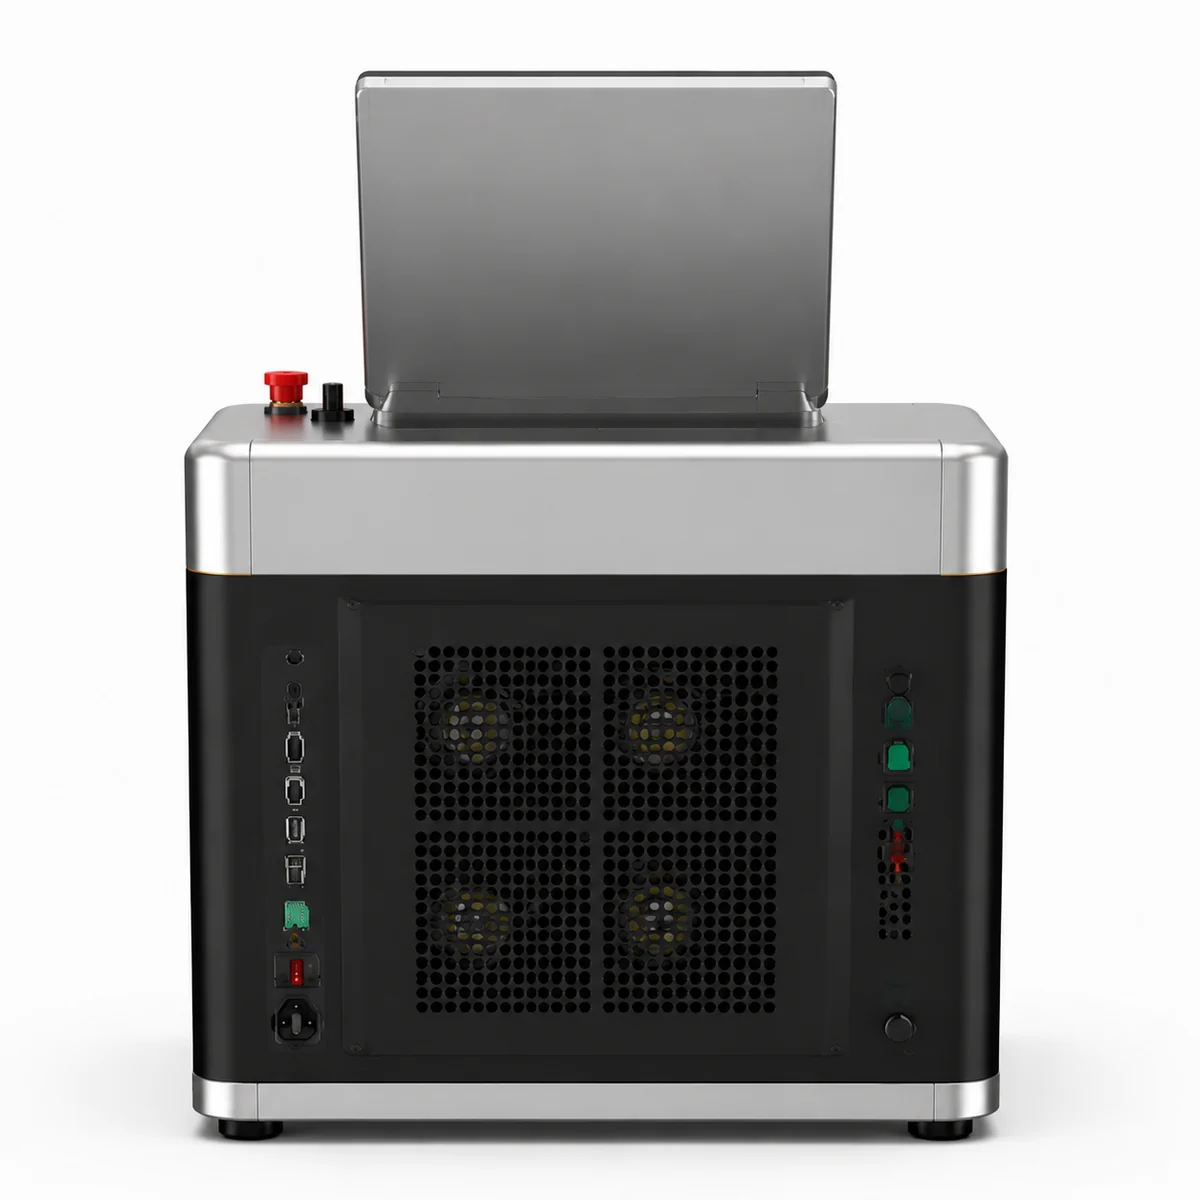
A phone for scaleAir cooling, rearBoth interfaces, one screen
Tell us the mains supply and the plug pattern in the room it is going into. That goes on the configuration sheet with everything else.
On most benches the obvious sample is the job itself. Here the watch, the frame or the framework belongs to a customer, is often the only one there is, and is not yours to put in the post.
What counts as an offcut
Sized-out bracelet linkBag it with the bracelet reference written on the bag.
Temple half being replacedThe broken side is enough; keep the good side.
Sprue or cast edgeFrom the very cast the framework came out of.
Wire off your spoolA finger length of the gauge you buy.
Scrapped part, same typeMatching alloy, matching section as the real joint.
Pending photo · offcuts bagged for the post
Four lines to send with it
The part and the joint
What the part is, and what the joint has to do once it is back in service.
The alloy
The alloy, or the trade name it is bought under, if known.
What sits beside the joint
How close the joint is to a finished face, a coating or a non-metal part.
Alignment or fit
Whether the part has to come back in alignment, or in a verified fit.
What comes back
Your own metal with the weld in it, for your own loupe, file and polishing wheel. The machine settings are written down beside it, with a line on how the material behaved under the beam. If the result is not what your work needs, that answer arrives before a machine is on your bench.
For precision metal repair equipment on a watch, eyewear or laboratory bench, the shortest way to an answer is an offcut of the alloy worked every week, in the post, with four lines about the joint.
The part and what the joint has to do
The alloy, or its trade name
Distance to a finished face, coating or non-metal part
Alignment or verified fit required
It goes under an M3 on our bench and comes back welded, with the settings, so the judgement is made in your own metal under your own magnification. Prefer to start with the machine? The specification sheet and the configuration rows are one click away.